Two days ago, my Microsoft Surface Pro 3 died. It had phases of longer deep-sleeps before and I was able to wake him up again by pressing several button combinations. But this time, it stayed dead, and so did my data on it. I had my last bigger backup 2 months ago and so the rescue journey started…
(You can skip the story part and jump to the „Rescue Part“)
Story Part:
Why I am writing this seemingly unrelated hardware problem story to our space blog? It’s easy, because my Surface was my faithful companion for all of my Ground Station meaduring activities on the fields and during countless Space Hackathons. And it also died while trying ot the Unviversal Radio Hacker with my RTLSDR dongle. So first of all, I like my surface and I want to document what I did to get my data. And secondly, it’s because of my space data that I have worked on the last weeks and were burried inside the SSD on the not-starting Surface Pro 3.
When it happend and the Surface just shut-down, it went from doing anything as intended, with a full battery (okay, charging level of 95% was maximum, because it is 2 years and 4 months old and the battery is getting old) and connected to the power cable to a new and odd status with a black display screen, active LED on the power-cable and no type-cover backlight. Trying all the different button combinations you learn to know as a Surface user to wake it up didn’t help. Using my smartphone and searching the Internet for help got my first answers but I did not really understand what these users meant with „blinking“ LED on the power-cable. For me it was once after 8 seconds every time I pushed the power button (watch the video). After these frustrating 20 minutes, I stopped trying it and put the Surface aside because it was already late evening. I had similar experiences before and after some hours I was able to wake it up. So I slept one night over it.
The next mornig, after 7 hours of waiting and sleeping, I tried all button combinations again, but it did not work. So I called the Microsoft hotline for final help and knowing from their notices it will cost me 29 Euros. I had a nice call and the call center person checked all his questionaire boxes and he gave me the options. Either I get a „new“ Surface Pro 3 if I pay for it, or I could also do it as we discussed before and rip ot the SSD. This was a possible options because during our telephone remote assesment, it was most likely just the battery and the SSD could be un-affected. I told him about the Surface Pro 3 teardowns with the Dremel tools I found on the net and that I will do that as soon as we will hang up this call. he knew about it and told me that he saw the face of the call center lady having the conversation with the guy sugessting this harsh operation on his Surface. He won’t forget how she looked at that very moment (even as a fictitious story, I liked to hear that I am not the only one with those permanently damaging ideas in mind). I also asked about Bitlocker encryption on the SSD and he confirmed I will most likely have to use the Recovery Key for it if using the SSD in an external USB-drive. That was easy to get for me because I had it stored on my Microsoft account. So with the gathered information, I was sure about it „cracking the Surface Pro and ripping out the SSD“ was my way to go.
Rescue Part:
With a bad feeling in my heart and seeing the foreshadowing fatal and total loss of my Surface Pro 3, I already ordered an external USB-drive casing for MSATA SSDs during the night when it happened. It arrived the next day after and so the rippening could start. I prepared two 3 things…
- How to get the tightly glued-together casing open. I used the ifixit method, not the Dremel one.
- How to get my data from the SSD because the drives are protected by default with Bitlocker. I just followed this how-to
- and got my Recovery Key from https://onedrive.live.com/recoverykey. If you stored it somewhere else, get it from there.
What actually happened
I took the ifixit method, because with a too deep cut of the Dremel, I would damage the SSD and that was too dangerous for my taste. And in my local hackerspace, shackspace, we have an ifixit set everybody can use. I haven’t used it before and now I had the best reasons trying it out now.
Here you see my surface, as it was before the ifixit operations…

After using the heatgun did not make the glue soft enough and keeping the glass still tightly attached to the frame, the first glass pieces cracked. You see them on the bottom left side on the following photo. I learned that I need to put more heat to it, way more than I expected, and that wearing eye procting glasses was a good idea. At one point a small fragment jumped up and hit my glasses and did not hit my eye.
With the first cracks in the glass my careful handling disappeared and I just wanted to have the Surface open. A fascinating fact was that my Surface suddenly started. Before that very moment, we I heated the area next to the USB port and the display started to change colour in a way starting from that corner. I started Windows and was able to access the drive. But the surface rebooted several times so my initial hope to be able to just copy my data directly to another external USB HDD was not fulfilled.

With help of my friends lotho and muzy, we finally achieved removing the glass and display pannel. We feared the intensive amount of heat from the heat gun could have damaged the SSD somehow, but it was not that warm. 
I removed the cable from the cable from the battery pack (orange, where the blue pick sticks in the photo) and then unscrewed the SSD. I put it to the external USB MSATA case.

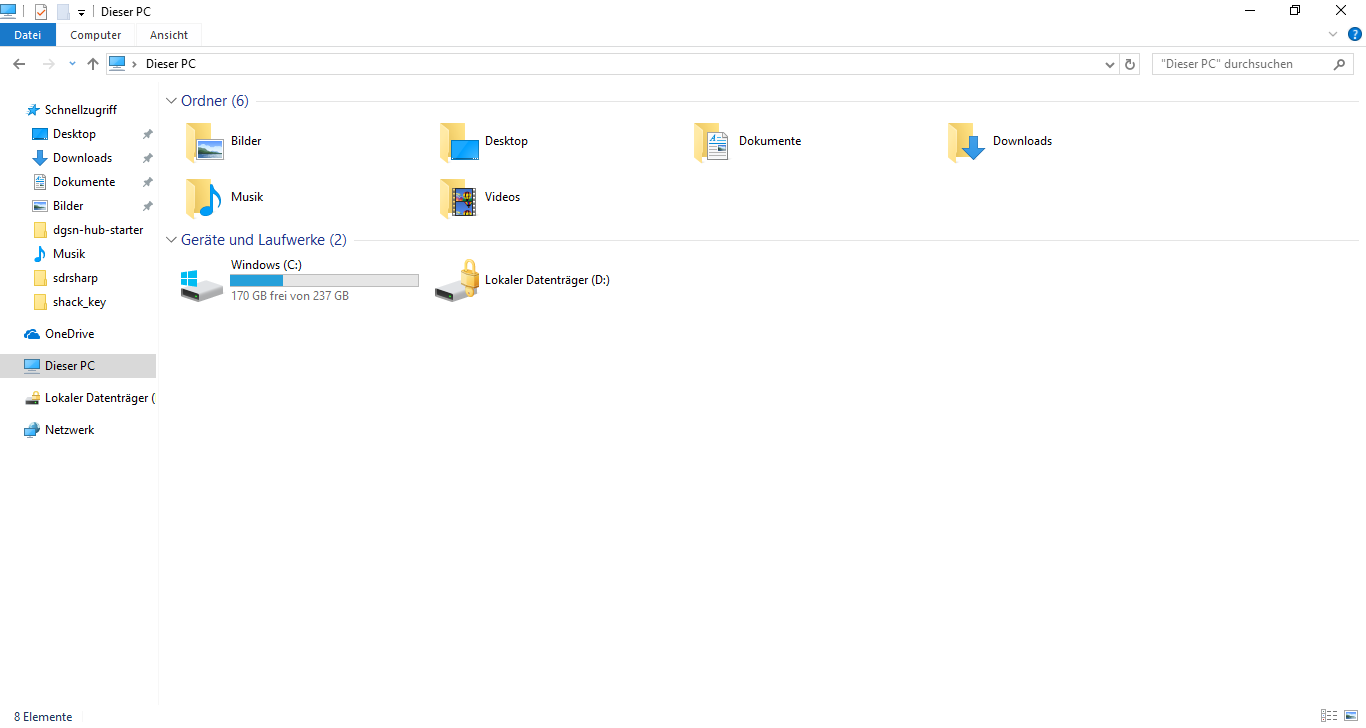
The external USB MSATA drive was directly recognized as an additional drive and a symbol showed me, that Bitlocker was active on it.

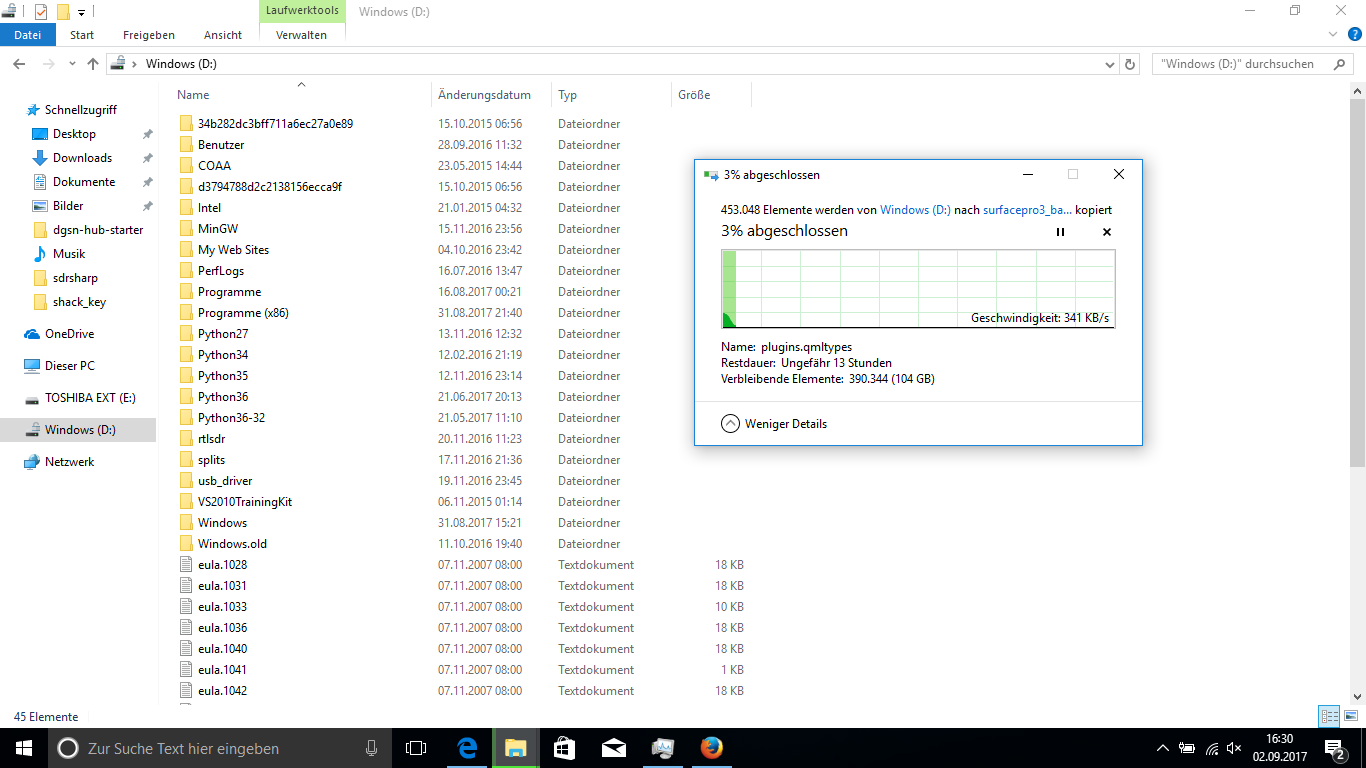
Double clicking on it revealed a prompt to enter the 48 digit Recovery Key. I typed it in, hit enter „et voila!“ my data was back. The data backup just finished while writing this small how-to.

Results
- I got my data back! I am really relieved
- I lost my Surface Pro 3 for sure now due to cracks in the display! These would hurt my fingers while using it.
- I am looking for a new laptop, because the one i am writing it is actually for my next Ground Station so I need it back. What would you recommend?
- The mentioned methods really works. I was sceptical at first.
- I have a new/space SSD I can put to another Ground Station
- It is good to have helpful friends, a hackerspace and the tools nearby
Now I can get back to work on my Ground Stations and I hope you don’t have to experience the same things as I did. But if you will, you know know that rescuing your data from a Bitlocker’d SSD is possible.
Thank you for reading this.
You find my photos on this Google Photos album.